(Image via
Gear failure is not a matter of "if," but "when." You can buy the most expensive equipment on the market, but harsh conditions, wear and tear, and bad luck can still leave you with a snapped pole or a torn jacket miles from civilization. The true mark of an experienced adventurer isn't just the gear they carry, but their ability to fix it when things go south. Panic is your enemy; ingenuity is your best friend. This guide explores practical, field-tested methods to repair common gear failures using basic items and a bit of creativity. By mastering these improvisation skills, you transform a potential trip-ending disaster into a manageable inconvenience.
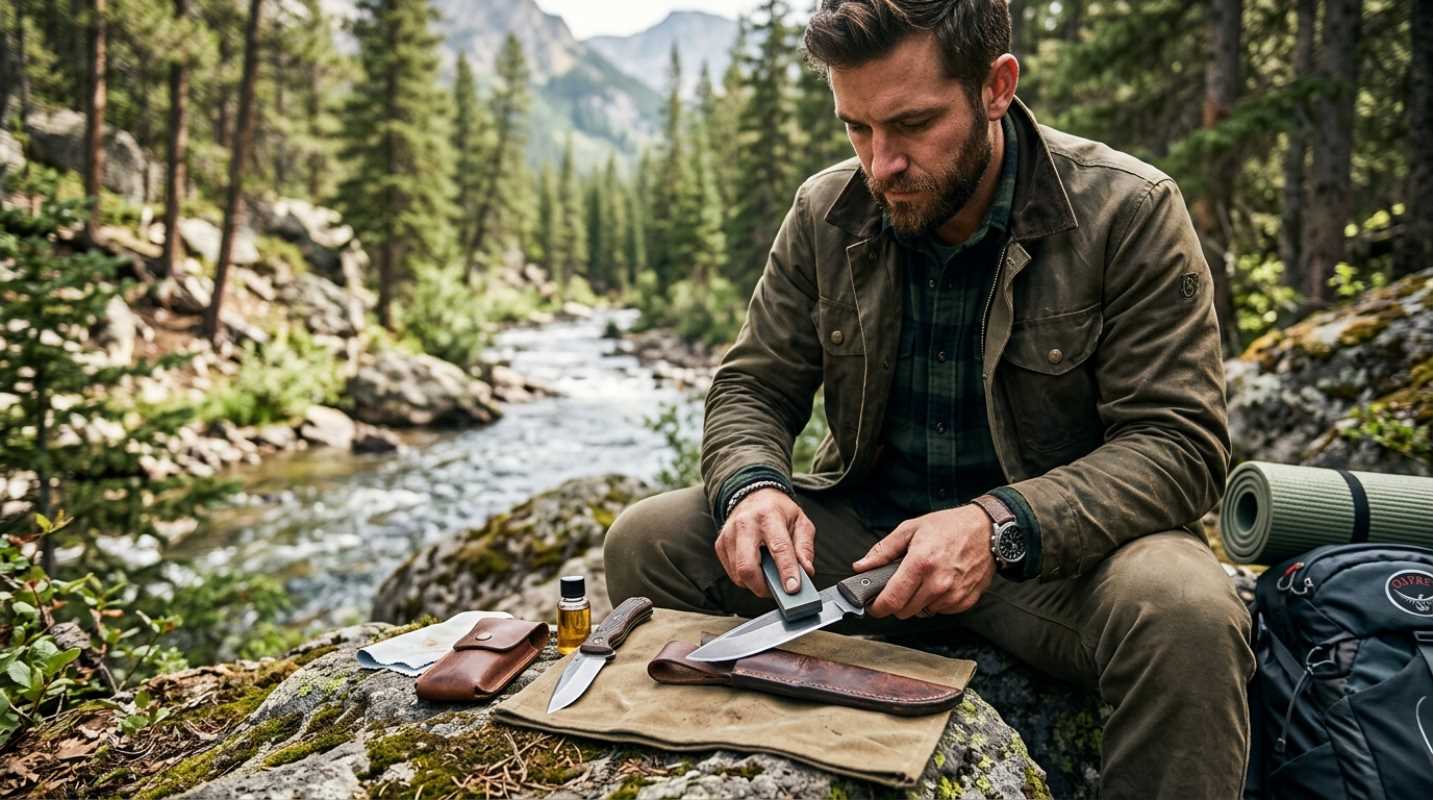
Repairing Tears in Tents and Jackets
A ripped tent in a rainstorm or a torn down jacket leaking feathers can quickly degrade your comfort and safety. The undisputed king of field repairs is duct tape, but for a longer-lasting fix, specialized repair tape like Tenacious Tape is superior. Clean the area around the tear with water and let it dry completely before applying the patch. Round the corners of the tape with scissors or your knife; sharp corners peel up easily against clothing or gear, while rounded ones stay put. Apply the tape to both the inside and outside of the fabric for maximum strength. If the tear is under tension, like a tent rainfly, use safety pins to close the gap before taping to reduce stress on the adhesive.
If you lack adhesive tape, your sewing kit becomes the first line of defense. Standard thread often snaps under the rigors of outdoor use, so savvy hikers carry dental floss instead. It is incredibly strong, waterproof, and waxy, which helps it glide through tough fabrics like canvas or nylon without fraying. Use a simple whip stitch to pull the edges of the tear together. If the hole is large and you have no patch material, you can sacrifice a stuff sack or a piece of a bandana to bridge the gap. In a pinch, pine sap heated carefully can act as a primitive glue to seal small punctures or hold a temporary patch in place until you get home.
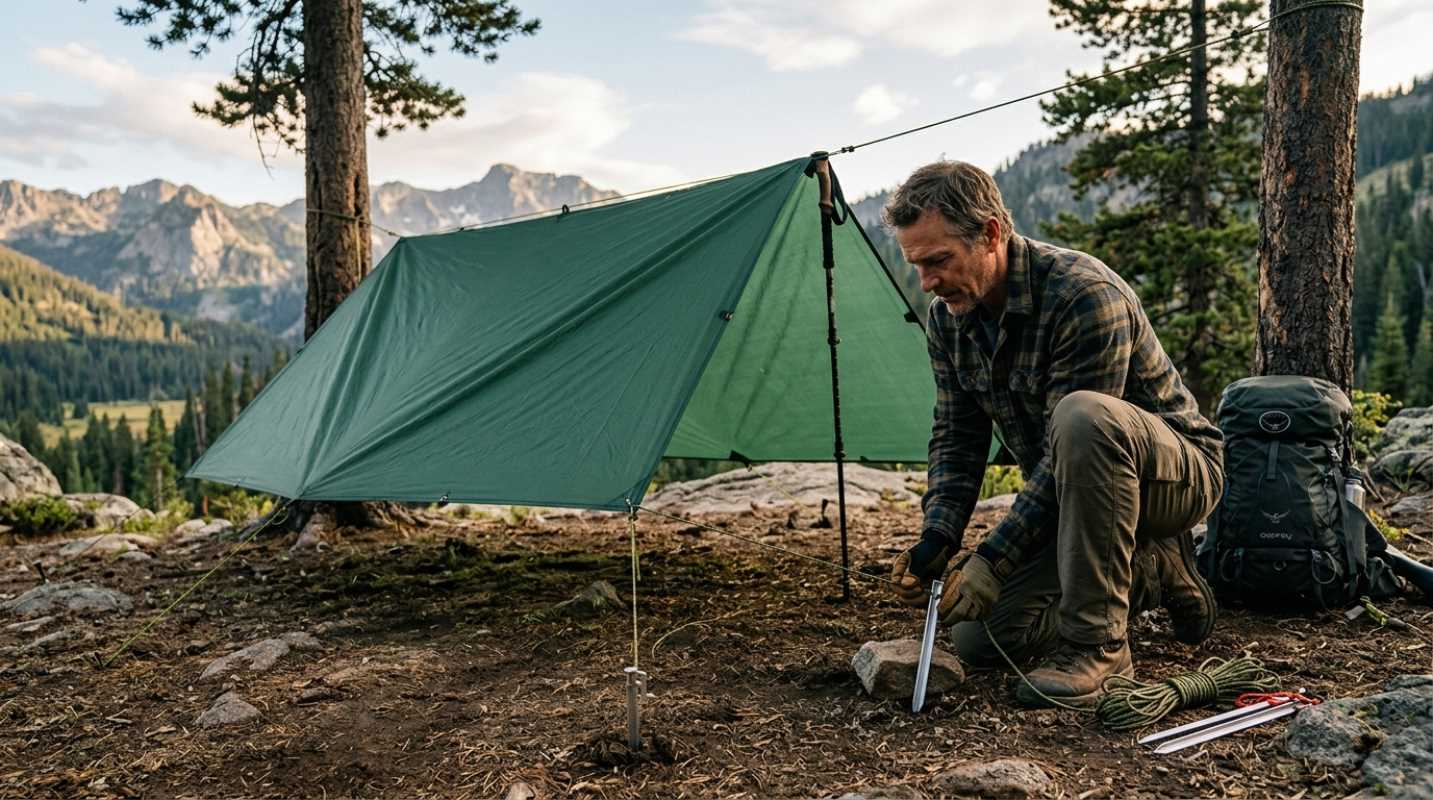
Splinting a Snapped Tent Pole
Hearing the crack of a tent pole during a windy night is a sinking feeling, but structural failure doesn't mean you have to sleep without shelter. Most quality tents come with a metal repair sleeve, a small tube that slides over the break to reinforce it. If you lost yours or didn't pack it, a hollow tent stake can serve a similar purpose. Slide the stake inside the hollow pole sections if it fits, or tape it firmly to the outside of the break. The goal is to restore rigidity so the pole can hold the tension of the tent fabric. Wrap the "splint" aggressively with duct tape or medical tape to prevent it from slipping or damaging the tent body.
When you don't have a repair sleeve or spare stakes, nature provides excellent alternatives. Look for a sturdy, straight stick that is slightly thicker than the pole itself. Place the stick alongside the fracture and lash it tightly using paracord, guy lines, or even shoelaces. You need to secure the stick at both ends and directly over the break to prevent the pole from buckling again. Be careful to pad any sharp edges on the stick or the broken aluminum with fabric or tape so they don't slash your rainfly. If the internal shock cord has snapped, simply tie the two ends of the shock cord together or ignore it and tension the poles manually when erecting the tent.
Dealing with Delaminating Boot Soles
Few things are as demoralizing as the sole of your boot flapping loose with every step. This usually happens when the glue degrades due to age or heat. The immediate fix involves wrapping duct tape around the boot, but placement is key. Don't just wrap the toe; wrap the tape under the arch of the boot and over the instep. This prevents the tape from wearing out instantly against the ground while walking. You might lose some traction, but keeping the sole attached is more important. If you have zip ties and your boot sole has deep lugs or holes, you can sometimes drill or poke a hole through the upper leather and zip-tie the sole directly to the boot for a mechanical connection.
For a more permanent field repair, you need a strong adhesive. If you carry a tube of Seam Grip or even super glue in your first aid kit, this is the time to use it. Clean the dirt out of the separation as best as you can, apply the glue liberally, and then apply pressure. You will need to keep the boot clamped shut while the glue cures, which can take hours. Use heavy rocks or wrap the boot tightly with cordage to maintain pressure overnight. If you have to keep moving immediately, combine the gluing method with the taping method. In a worst-case scenario, sacrifice a piece of accessory cord to tie the sole onto your foot like a sandal strap.
Managing Broken Backpack Buckles and Straps
A broken hip belt buckle can turn a comfortable load into a back-breaking burden instantly. If the plastic buckle shatters, you can often bypass it entirely. Thread the webbing through a carabiner and tie a knot to secure it, or simply tie the two ends of the webbing together using a square knot or a water knot. While it won't be adjustable on the fly, it will transfer the weight to your hips effectively. If the webbing itself is too short to tie, use a loop of paracord or a spare strap to bridge the gap. Always check your pack for "extraneous" buckles, often the sternum strap buckle or a compression strap buckle is the same size and can be swapped in.
If a shoulder strap tears away from the pack body, sewing it back on requires heavy-duty needlework. Use your dental floss and a large needle to stitch through the thickest part of the fabric, going back and forth multiple times to create a "bar tack" stitch. If sewing isn't an option, you need to improvise a new attachment point. Use a knife to carefully poke a hole in the pack fabric near the original seam (reinforced with duct tape if possible), thread a zip tie or paracord through, and tie the strap to this new anchor. You can also redistribute the load by tightening the load-lifter straps and the hip belt to take pressure off the failed shoulder strap.
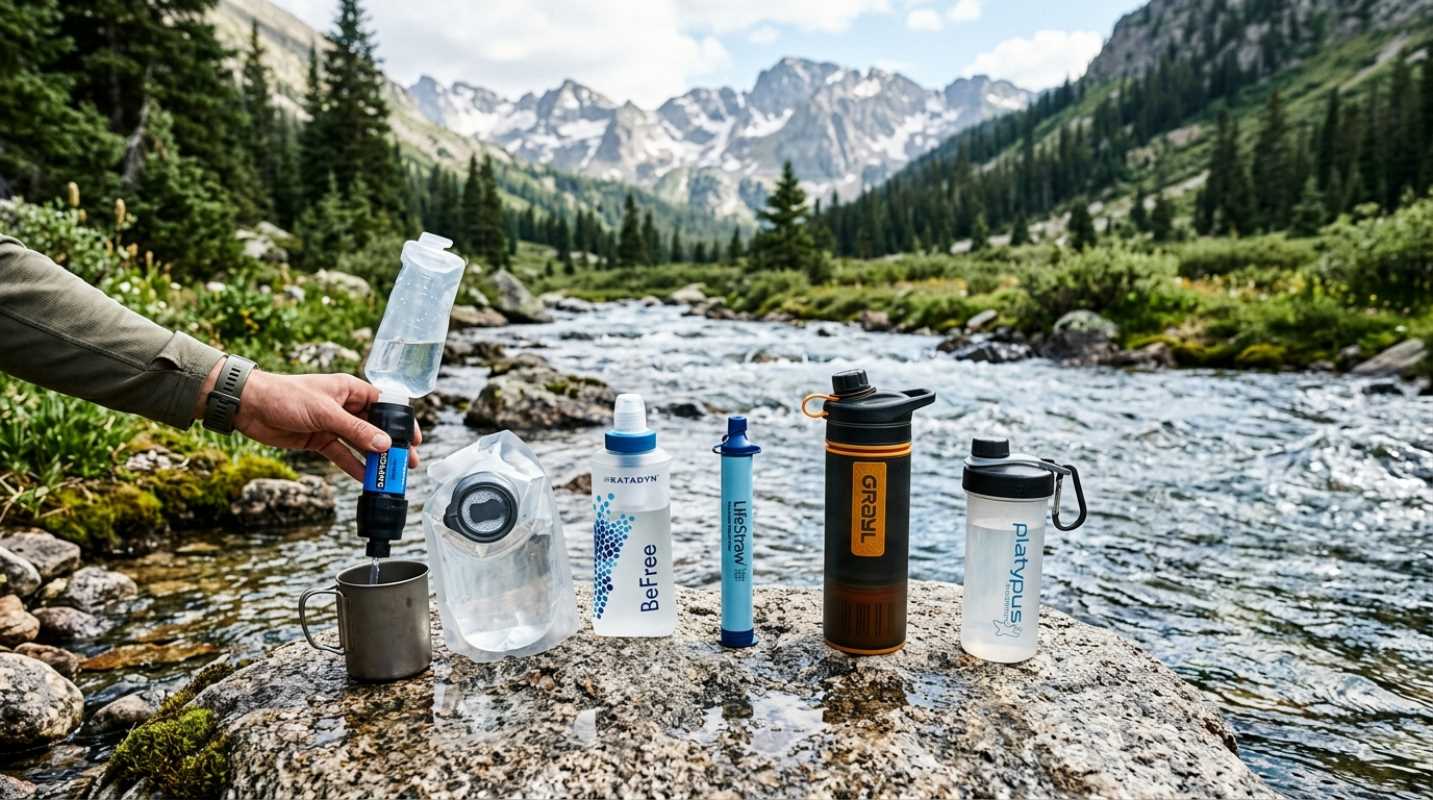
Cooking When the Stove Fails
Stove failures range from clogged jets to broken fuel lines, leaving you with cold water and uncooked food. If your stove is dead and fire regulations permit, a small, controlled twig fire is your best alternative. Dig a small pit or build a rock ring to contain the heat and balance your pot. Cooking over a fire requires constant attention to prevent burning your food or melting lightweight titanium handles. Coat the outside of your pot with a thin layer of mud or soap before putting it on the fire; this makes scrubbing the soot off much easier later. If you can't build a fire, you can try to unclog a stove jet using a single strand of wire from a twist-tie or a toothbrush bristle.
If a fire is impossible due to weather or regulations, you must embrace the "cold soak" method. Most dehydrated meals, ramen, and couscous will eventually rehydrate in cold water; it just takes significantly longer, usually 30 to 60 minutes instead of 10. Put your food and water in a leak-proof container (like a Nalgene or a sealed specialized bag) and put it in your pocket or sleeping bag. Your body heat will slightly warm the water and speed up the process. It won't be a hot meal, but it will be edible and nutritious. Moving forward, always carry a few "no-cook" items like jerky, nuts, and tortillas to ensure you have calories even if your kitchen system fails completely.