Have you ever stood in the backcountry, watching dark storm clouds roll over the ridge, and felt a sudden wave of doubt about your shelter? If you are carrying a traditional tent, you are locked into one specific shape. You need a flat, clear footprint, and you are carrying a heavy bundle of poles.
But when you master the tarp, the entire forest becomes your shelter. You can pitch it high to catch a breeze, low to block a freezing gale, or wide to cover a group. It is the ultimate tool for minimalist freedom.
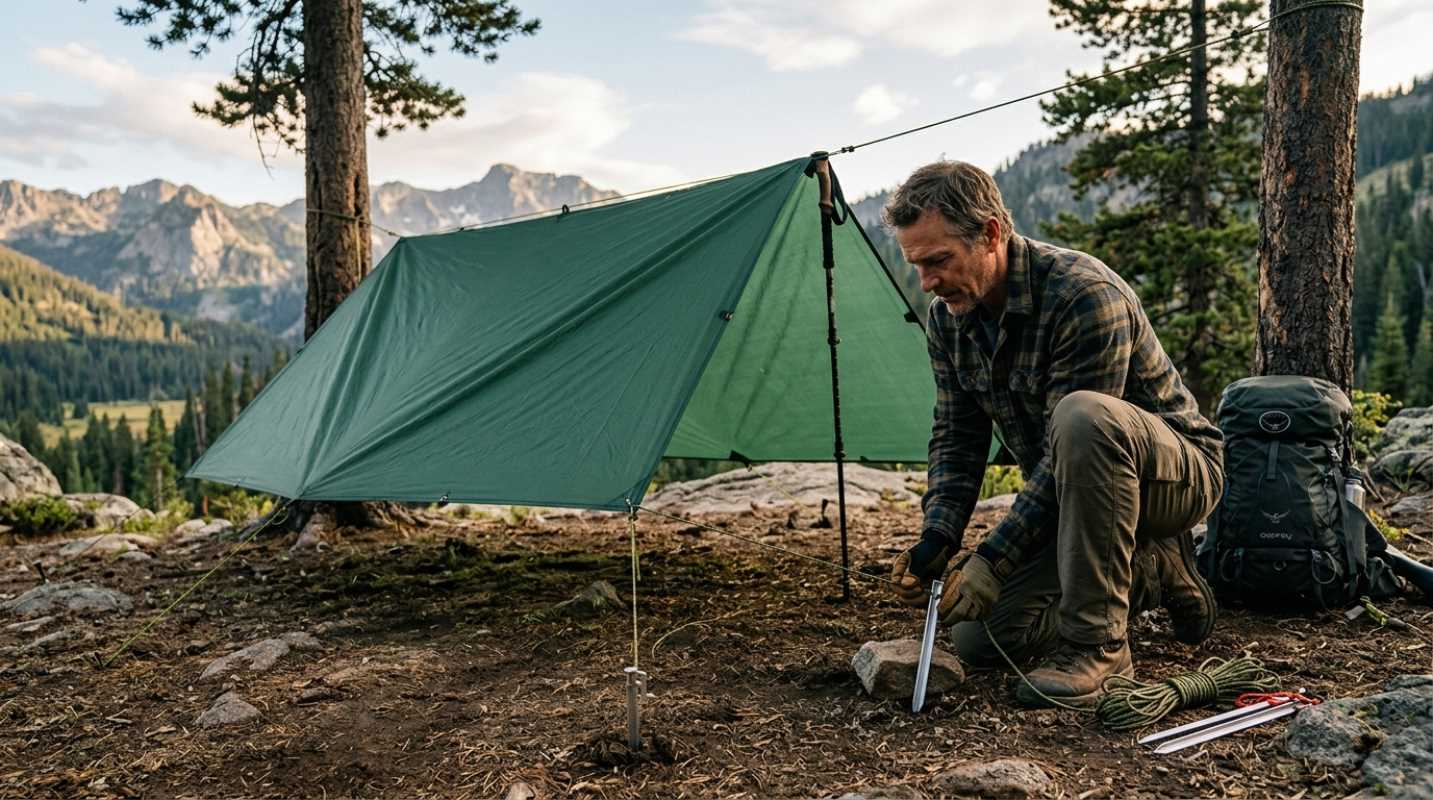
There is a catch, though. A tarp has no rigid poles to keep it upright. It relies entirely on tension, cordage, and the holding power of your stakes. If a single stake pulls out in the middle of a midnight storm, your entire shelter collapses onto your sleeping bag.
Confidence in the wild starts with knowing your gear is anchored to the earth.
The Needed Tent Stake Guide for 2026
Most tents and tarps come packaged with cheap, soft aluminum stakes. You know the ones. They bend the moment they hit a hidden rock, leaving you frustrated and hammering them with a boot. To build a reliable shelter, you need to match your stakes to the specific ground you are sleeping on.¹
Let's look at the three primary materials you will find today
• Aluminum: This is the classic workhorse. Modern high-grade aluminum stakes balance weight and strength perfectly. They are rigid enough for most soils and cheap to replace if you lose one.²
• Titanium: If you want to shave ounces without sacrificing strength, titanium is your best friend. It has an incredible strength-to-weight ratio, meaning you can hammer a thin titanium peg into rocky ground without it snapping.³
• Carbon Fiber: The choice for extreme ultralight hikers. Carbon fiber stakes are incredibly light but can be brittle if you try to force them into hard-packed dirt.
Carrying a single type of stake is a common mistake. Experienced backpackers carry a hybrid stake kit, mixing different styles so they are ready for forest soil, rocky ridges, or loose sand.⁴
• MSR Groundhog: The gold standard for maximum holding power in standard soil. Weighing 0.5 ounces, its Y-beam design resists bending and holds fast in wet meadows.⁵
• MSR Mini Groundhog: The ultimate choice for thru-hikers looking to save weight, coming in at just 0.35 ounces.⁵
• Vargo Titanium Nail Peg: A virtually indestructible 6-inch peg with a flat head, designed for hammering straight into rocky, hard-packed earth.³
• MSR Blizzard Tent Stake: A wide, U-shaped aluminum stake designed to scoop and hold in loose sand or deep winter snow.⁵
• TOAKS Titanium V-Shaped Stakes: Ultralight pegs that nest together, perfect for securing your shelter in wet clay or mud.³
5 Proven Camping Tarp Configurations
Now that you have the right anchors, let's look at how to pitch your tarp. These five classic configurations will keep you protected in almost any weather.
The Classic A-Frame
This is the traditional shape most people picture when they think of a tarp. You drape the tarp symmetrically over a central ridgeline, which you can tie between two trees or support with trekking poles. Both sides angle down to the ground, creating a classic tent shape.
The A-frame is fantastic for shedding rain and snow, and it gives you plenty of headroom to sit up. The downside is that both ends are completely open. If the wind shifts direction during the night, you might find rain blowing straight onto your face.
The Lean-To
Need a quick shelter to block a cold wind or cook a hot meal in a drizzle? The lean-to is your fastest option. You stake one side of the tarp directly to the ground, facing the wind. Then, you elevate the opposite side using trees or trekking poles.
This creates a single, angled wall that acts as a massive windbreak. It is highly social and keeps you close to a campfire, but it offers zero protection if the wind swings around and hits you from the front.
The Plow Point
Also known as the flying V, this is a brilliant, aerodynamic wedge. You anchor one corner of a square tarp high up on a tree or a trekking pole. Then, you stake the opposite corner and the two side corners directly to the ground.
Because it presents a low, sloped profile to the wind, the plow point is incredibly stormproof. It is also remarkably fast to set up, requiring only one pole and three stakes. The trade-off is headroom. The back corner slopes down sharply, leaving you with limited space to move around.
The C-Fly
This is an advanced setup that solves the problem of wet ground. You lay one section of the tarp flat on the earth to act as your groundsheet. The tarp then folds up to form a back wall, goes over a trekking pole to form a roof, and angles down to the front.
The built-in floor protects your sleeping pad from mud and dampness while blocking wind from behind. It is a bit complex to pitch, and you will need a larger tarp, ideally at least 8 by 10 feet, to make it work.
The Half-Pyramid
If you want your tarp to feel like a traditional tent, the half-pyramid is your best bet. You place a single trekking pole near the center of one side, raising that edge. Then, you stake the remaining three sides flush to the ground.
This gives you three-sided protection from wind, rain, and dust. It feels spacious and secure, though the fabric slopes steeply at the back, which can feel a bit cramped near your feet.
Matching Stakes to Your Setup
Different pitches put different stresses on your gear. To keep your shelter standing, you have to match the right stakes to the right corners.
Think about the plow point. Because you only use three stakes, that rear corner is holding back a massive amount of tension. If you use a thin needle stake there, the wind will pull it right out of the ground. For that important rear anchor, you want a heavy-duty stake like the full-sized MSR Groundhog. You can use lighter Mini Groundhogs on the sides to save weight.
For setups like the lean-to or the half-pyramid, where the edges are flush to the ground, you need to drive your stakes deep to keep the fabric taut. If you are dealing with hard-packed dirt, use titanium nail pegs that can handle being hammered with a rock.
No matter which setup you choose, guyline tension is your lifeline. A loose tarp will flap in the wind, which loosens your stakes and eventually tears your tie-out loops. Keep your lines tight, and if the ground is too rocky to drive a stake, use the big rock method. Wrap your guyline around a small rock, then place a much larger, heavier stone on top of the line to hold it in place.
Building Your Backyard Muscle Memory
Do not wait until you are shivering in a dark, rainy forest to try pitching a tarp for the first time. The secret to successful tarp camping is practice.
Head out to your backyard or a local park on a sunny afternoon. Experiment with the A-frame and the plow point. Get a feel for how much tension your guylines need and how different stakes behave in your local soil. Try driving a titanium peg at a shallow angle into hard ground, or practice burying a stick as a deadman anchor in loose dirt.
When you build that muscle memory, you stop worrying about the weather forecast. You will know that no matter what conditions you face, you have the skills, the configurations, and the stakes to build a dry, secure home in the woods.
Sources:
1. Backpacking Tent Stakes
https://bettertrail.com/outdoor-gear/backpacking-tent-stakes
2. Best Tent Stakes
https://bikehikesafari.com/best-tent-stakes/
3. Best Stakes for Your Thru-Hike
https://zpacks.com/blogs/news/best-stakes-for-your-thru-hike
4. Reddit Ultralight - Favorite Tent Stakes
https://www.reddit.com/r/Ultralight/comments/63wr7g/what_are_your_favorite_tent_stakes_for_different/
5. Best Tent Stakes of 2026
https://www.cleverhiker.com/backpacking/best-tent-stakes/